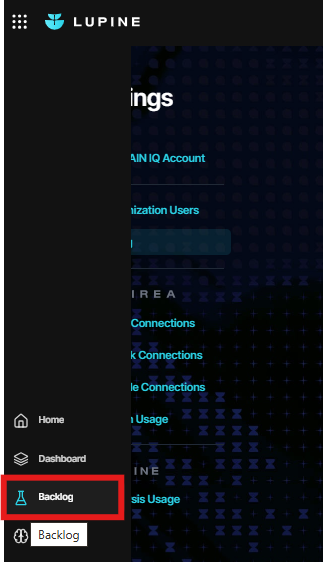
Step 1: Open an approved experiment in the Backlog
- From the Lupine Home screen, click View Backlog in the "Experiment Backlog" card, or click Backlog in the left sidebar. You can see all your approved experiments here.
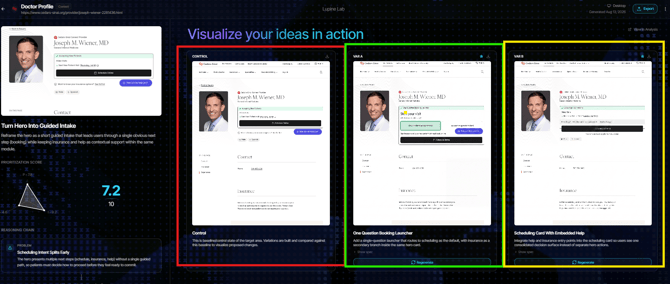
Step 2: The Variant Generation screen
- Select one of the experiments listed in the backlog view. The experiment opens in the Lupine Lab view with "Visualize your ideas in action" at the top.
- You'll see three cards side by side:
-
- CONTROL — The original/baseline state of the page.
- VAR A — The first proposed variation
- VAR B — The second proposed variation
Step 3: Generate a variant
- Click the Generate button at the bottom of the VAR A or VAR B card.
- The platform will show an animated progress indicator with status messages from Lupine's AI as it renders the visual variant.
Step 4: Review the Generated Variant
- Once complete, the variant card will display a visual rendering of the modified page.
- You can click the star icon in the top-right corner of a variant card to mark it as a favorite.
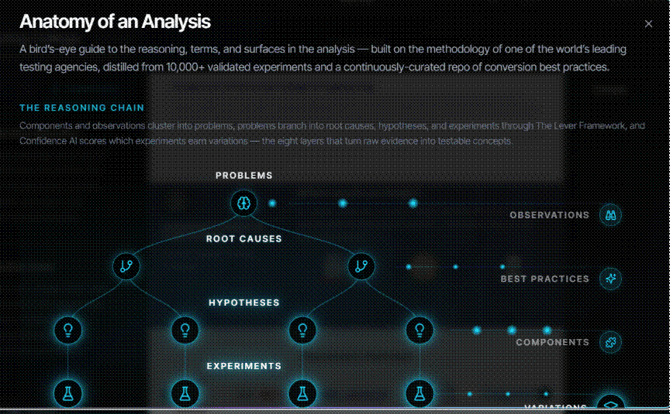
Step 5: Understanding Analysis (Anatomy of Analysis)
Users can access a detailed breakdown of analysis components and metrics.
- When you have an experiment or analysis open, click the question mark (?) icon in the top-right corner of the analysis or variant.
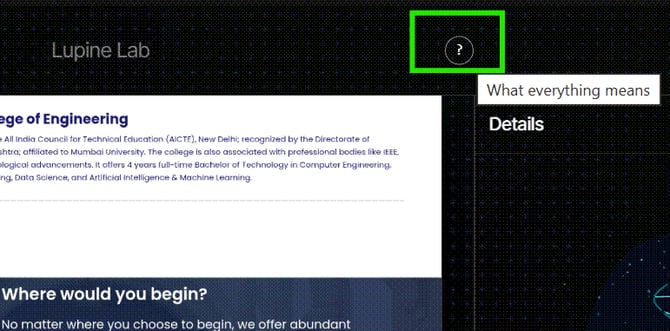
- A window will open that shows the Anatomy of an Analysis
Step 6: Export or Share the Test Plan
- Lupine has the ability to export your test into an easy to share detailed test plan document. For more information on how to generate and configure this, please visit